How to assemble The shade structure
Blackrock Hardware strongly encourages you to assemble the frame completley and SECURE the strucure completely BEFORE attaching the shade tarps aka “lift generating mechanisms”.
Recommended Tools:
– Work gloves (the poles get hot in the sun).
– Pliers or sturdy screwdriver for tightening connector eye bolts.
– Something to stand on. A sturdy chair or cooler will do for some, shorter folks may need a ladder.
– Sledgehammer, large rock, or sturdy mallet to drive in re-bar stakes.
– Adjustable crescent wrench to tighten set bolts on legs.
– Vice grips, rope, or whatever you require for your chosen re-bar stake removal method.

Step 1
Lay Out the Roof Poles
Place all roof poles on the ground next to corresponding fittings as shown.

Step 2
Connect Roof Poles
Connect all roof pipes and fittings. Make sure to place all fittings with the vertical extension facing down. Tighten eye bolts gently with a tool. Do not over tighten.

Step 3
Raise Half the Roof
This step is best done with 2-3 people.
Lift one side of the roof and insert leg poles into the fittings, tighten eye bolt for each leg

Step 4
Raise the Roof
Lift the opposite side of the roof and repeat above instructions inserting remaining leg poles into the fittings.

A note on Legs
Wrongtown Shade has two different types of legs acquired over the years:
- 8′ Leg with threaded hole and bolt at bottom to tighten on stake
- 8′ Leg with no hole and orientation does not matter
A Note on Feet
Wrontown Shade has three diffent ways of attaching legs to the playa:
- Straight piece of rebar that the leg sits over and bolts too (Leg #1)
- Foot with Small Diamater holes (must use small diamater lags)
- Foot with Large Diamater holes (must use large diamater lags)
- We only have so many of each lag screw

Step 5
Choose your Foot
Based on the leg type choose a foot or a straight piece of rebar. IF you dont need a foot and you are using the pole with a threaded hole Make sure the legs are even and straight. Drive re-bar into the ground right where the leg meets the ground. The 24″ stakes should be driven straight in until about 7″-9″ of the re-bar remains above ground. Tighten the tightning bolt so the leg will not lift off the stake.

Step 6
Secure Foot to the Ground
If your leg requires a foot.
Place to foot on the gound and drop the leg in the foot, tighten the eyebolt with pliers or scredriver (don’t Superman it). Take 1 lag screw, remember it must match the right dimension, and secure the foot to the play. The lag bolt head should be touching the foot, but dont ovetighten as it will strip the connection and make it weak.

Step 7
Attach Roof Panels
This step is best done with 2-3 people and use the scaffolding.
Start by attachingon corner to poles with ball bungees. Use two ball bungees at each corner, one for each pole. Once the corner is fastened, use a ball bungee at every grommet to secure the tarp working your way around the tarp.
Step 8
Attach Wall Panel
This step is best done with 2-3 people.
Find the Black Sail Cloth. Start by hanging the long side of the sail cloth along the top outside rail of tent city. 4 Feet away, on the outside side, from the feet of the the shade structure place stakes about 8 feet apart. Secure the sail cloth to the stakes using zip ties, use two or three on every stake. Place a tennis ball on the top of each exposed stake.
Notes On Tarps:
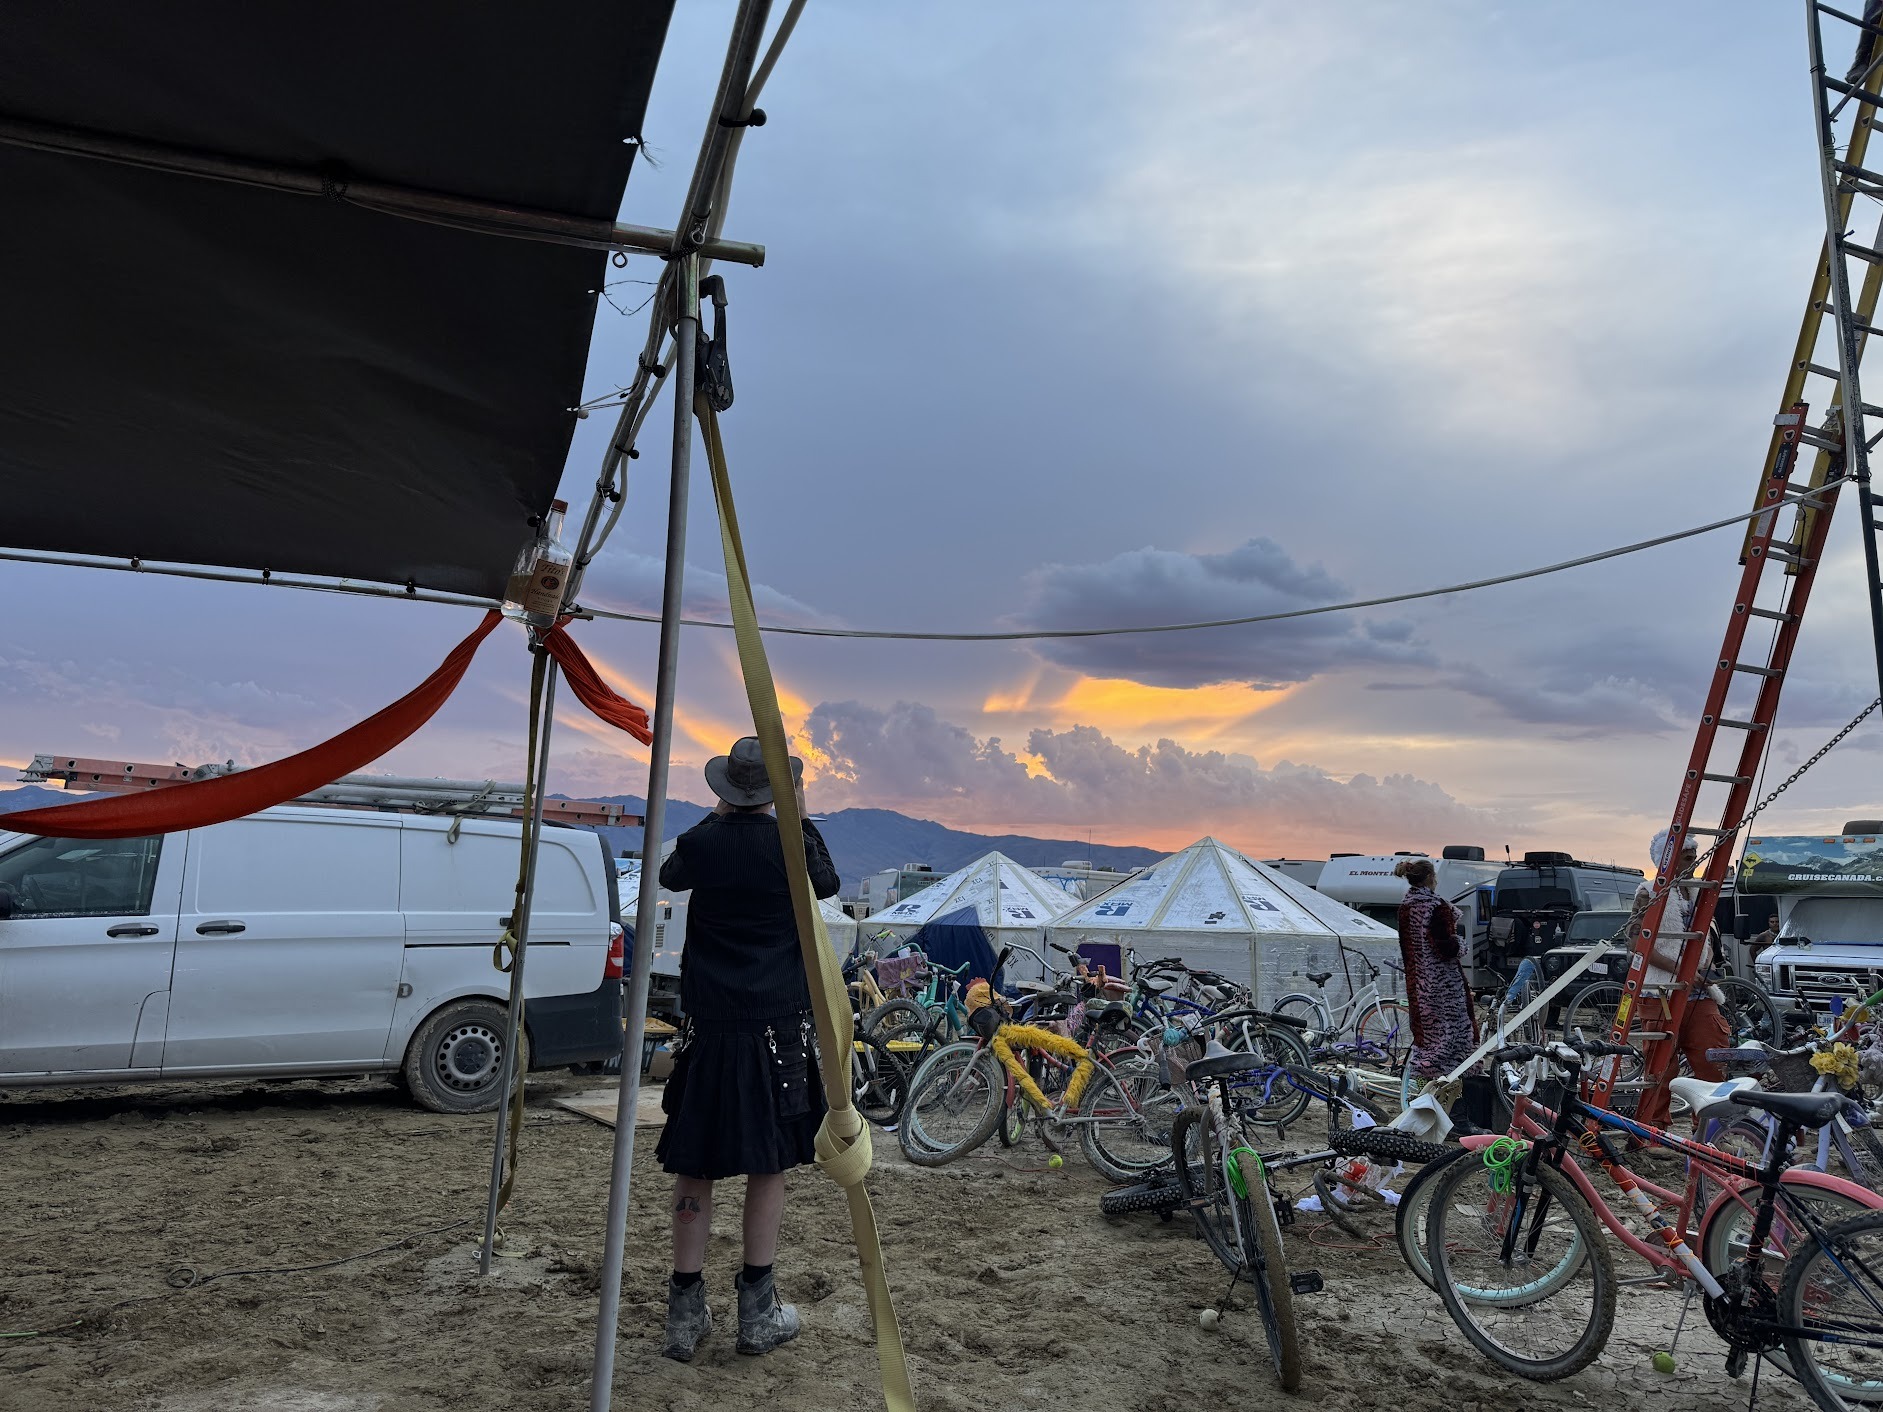
Blackrock Hardware shade is great for what it says: shade. However, in the rain, the flat roof will collect water. If this happens simply tip the water off the roof tarp with a broom handle or tie a handle of Titos or other similar heavy opbject from one of the gromet holes on one side (See Photo).
To use a ball bungee, push elastic through grommet and pull until the plastic ball is resting against the tarp. Loop elastic around the poll and back over the plastic ball.
If a grommet is missing grab a tennis ball (or other small ball/object) and lay the tarp over the ball, then pass the bungy over the bulge the ball makes in the tarp and proceed as if that was your grommet.